User guide
When you receive your set by mail,
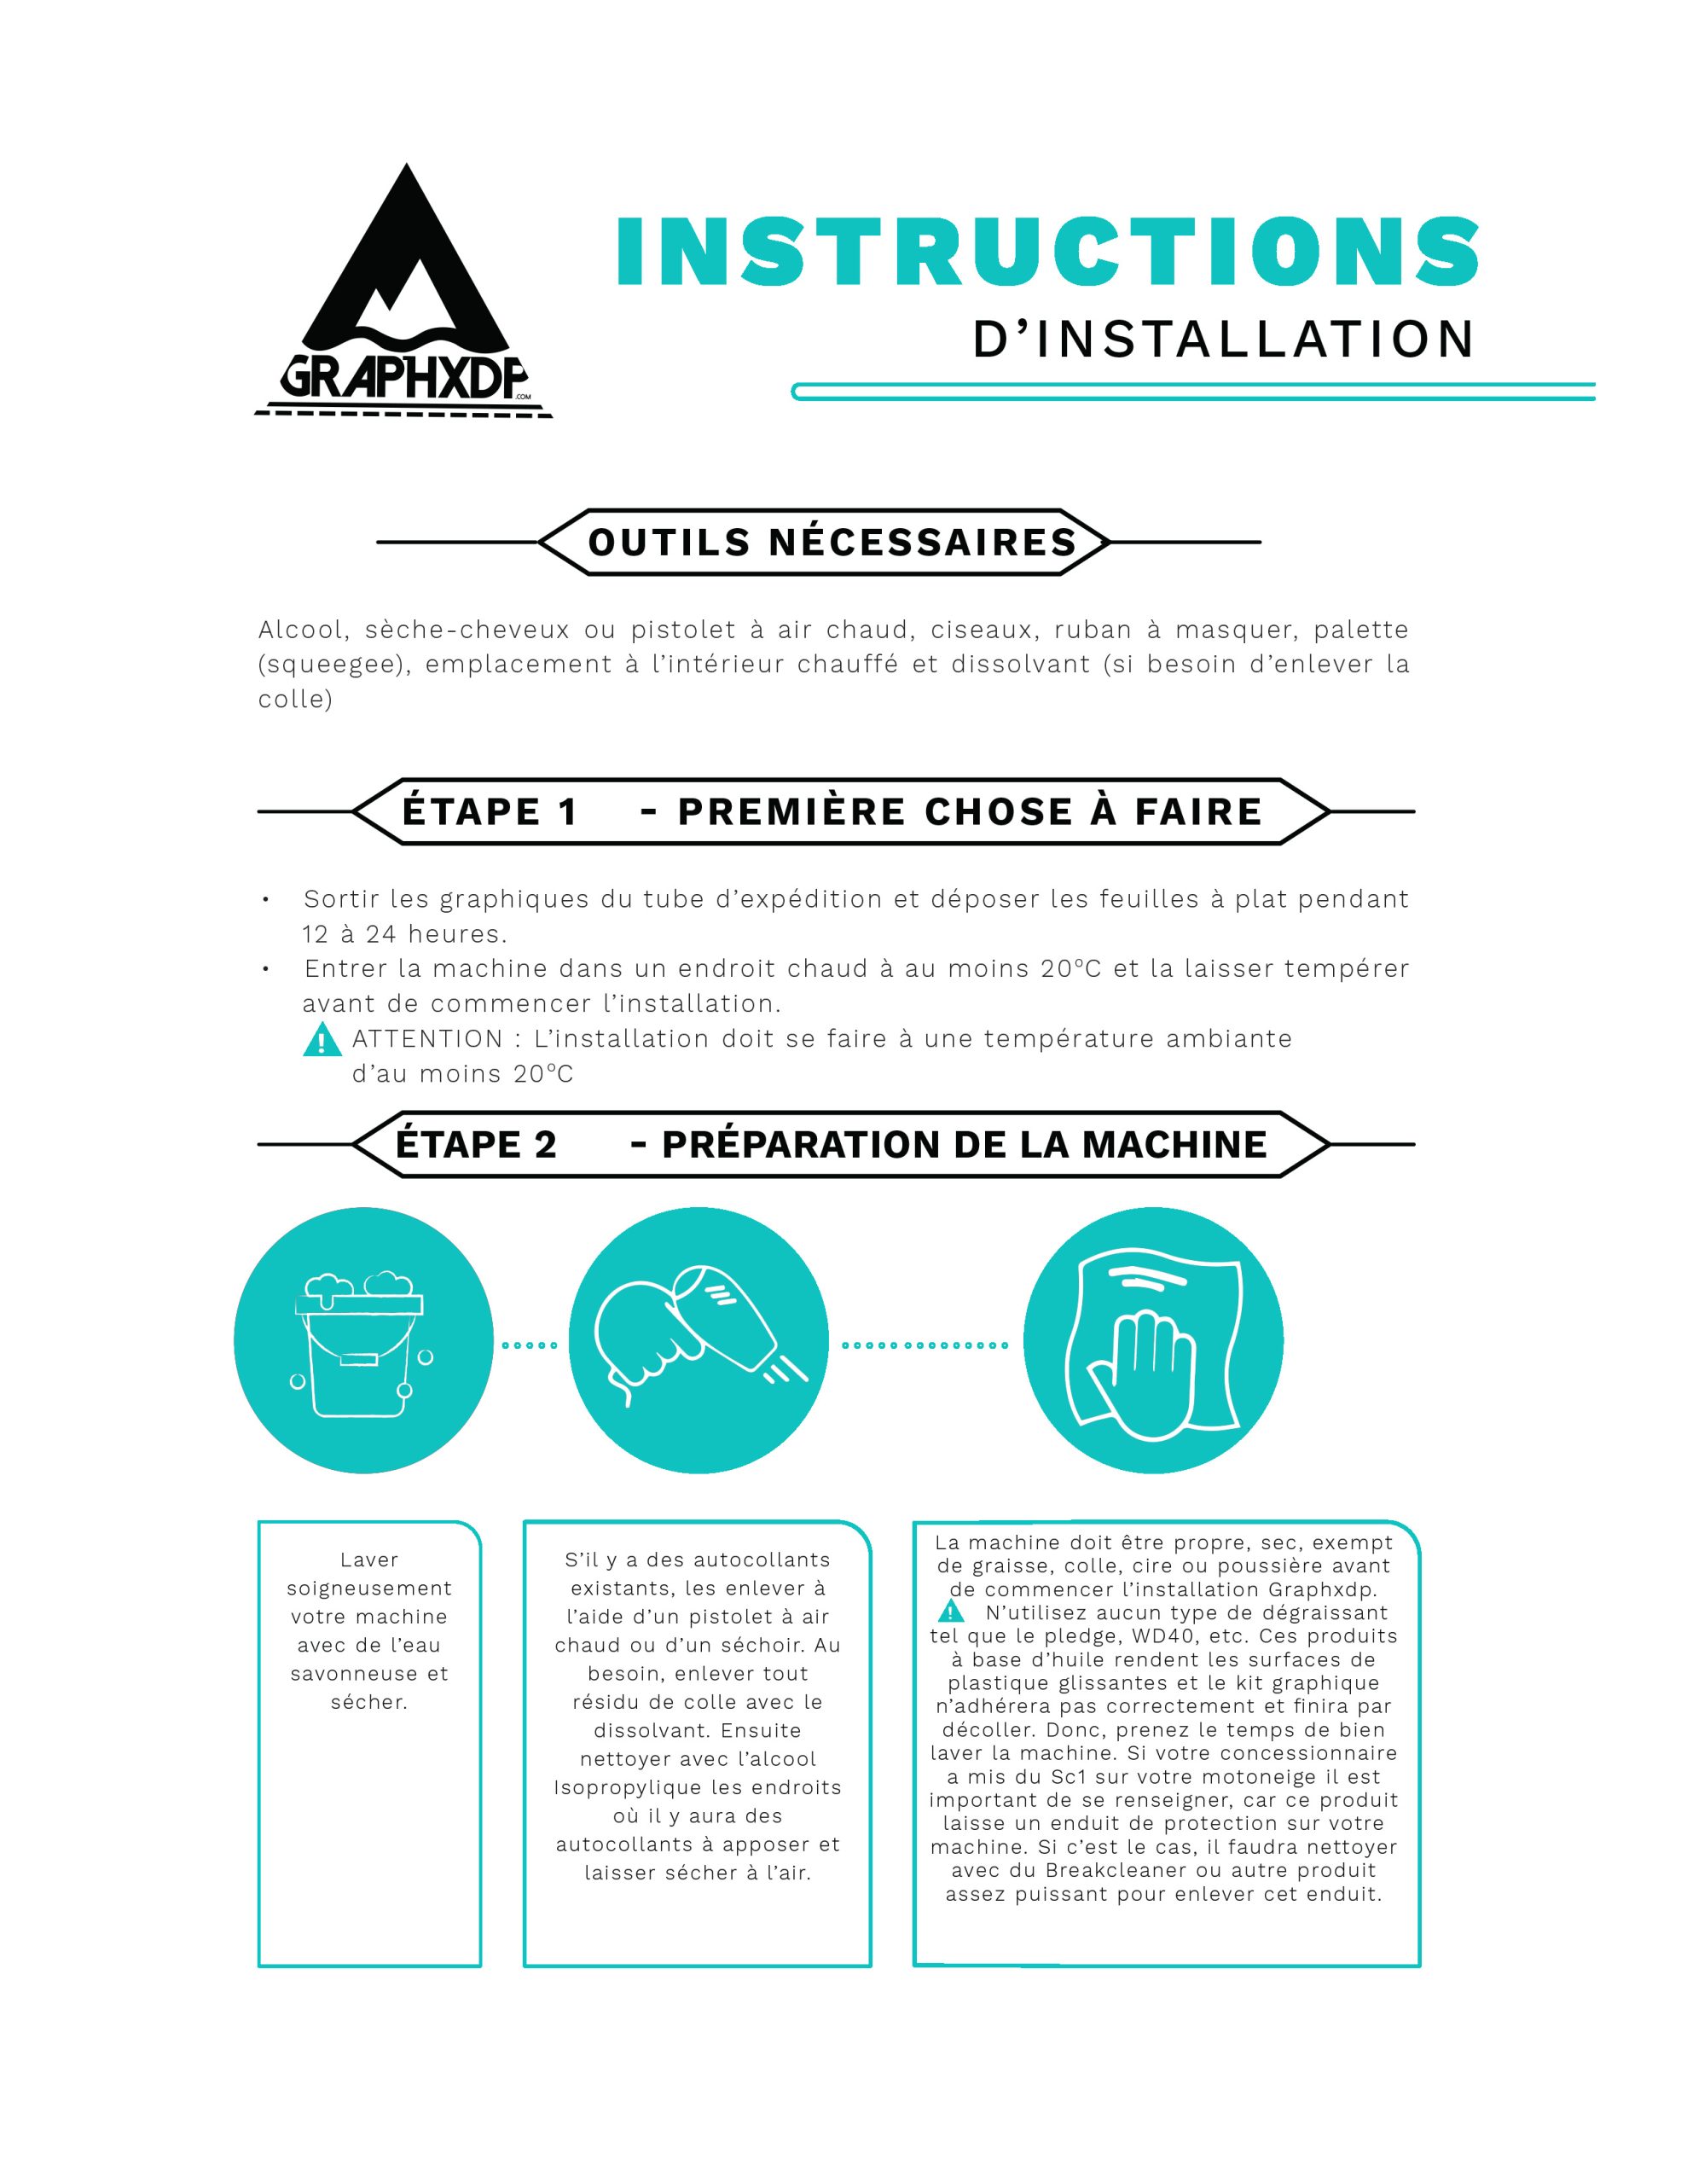
The first thing you should do when you receive your graphic set is to take it out of the packaging tube and lay the sheets flat for 12 to 24 hours.
During this period, you can place your machine in a warm or temperate place (approximately 21 degrees Celsius).
Prepare and clean your machine.
Remove any existing stickers using a heat gun or dryer.
Make sure there is no residue left after removing the decals. We recommend using 70/30 isopropyl alcohol to remove any substances such as dust, grease, adhesive, etc.
You can find this alcohol at many stores (e.g., pharmacies, large retailers, etc.).
Sticker installation
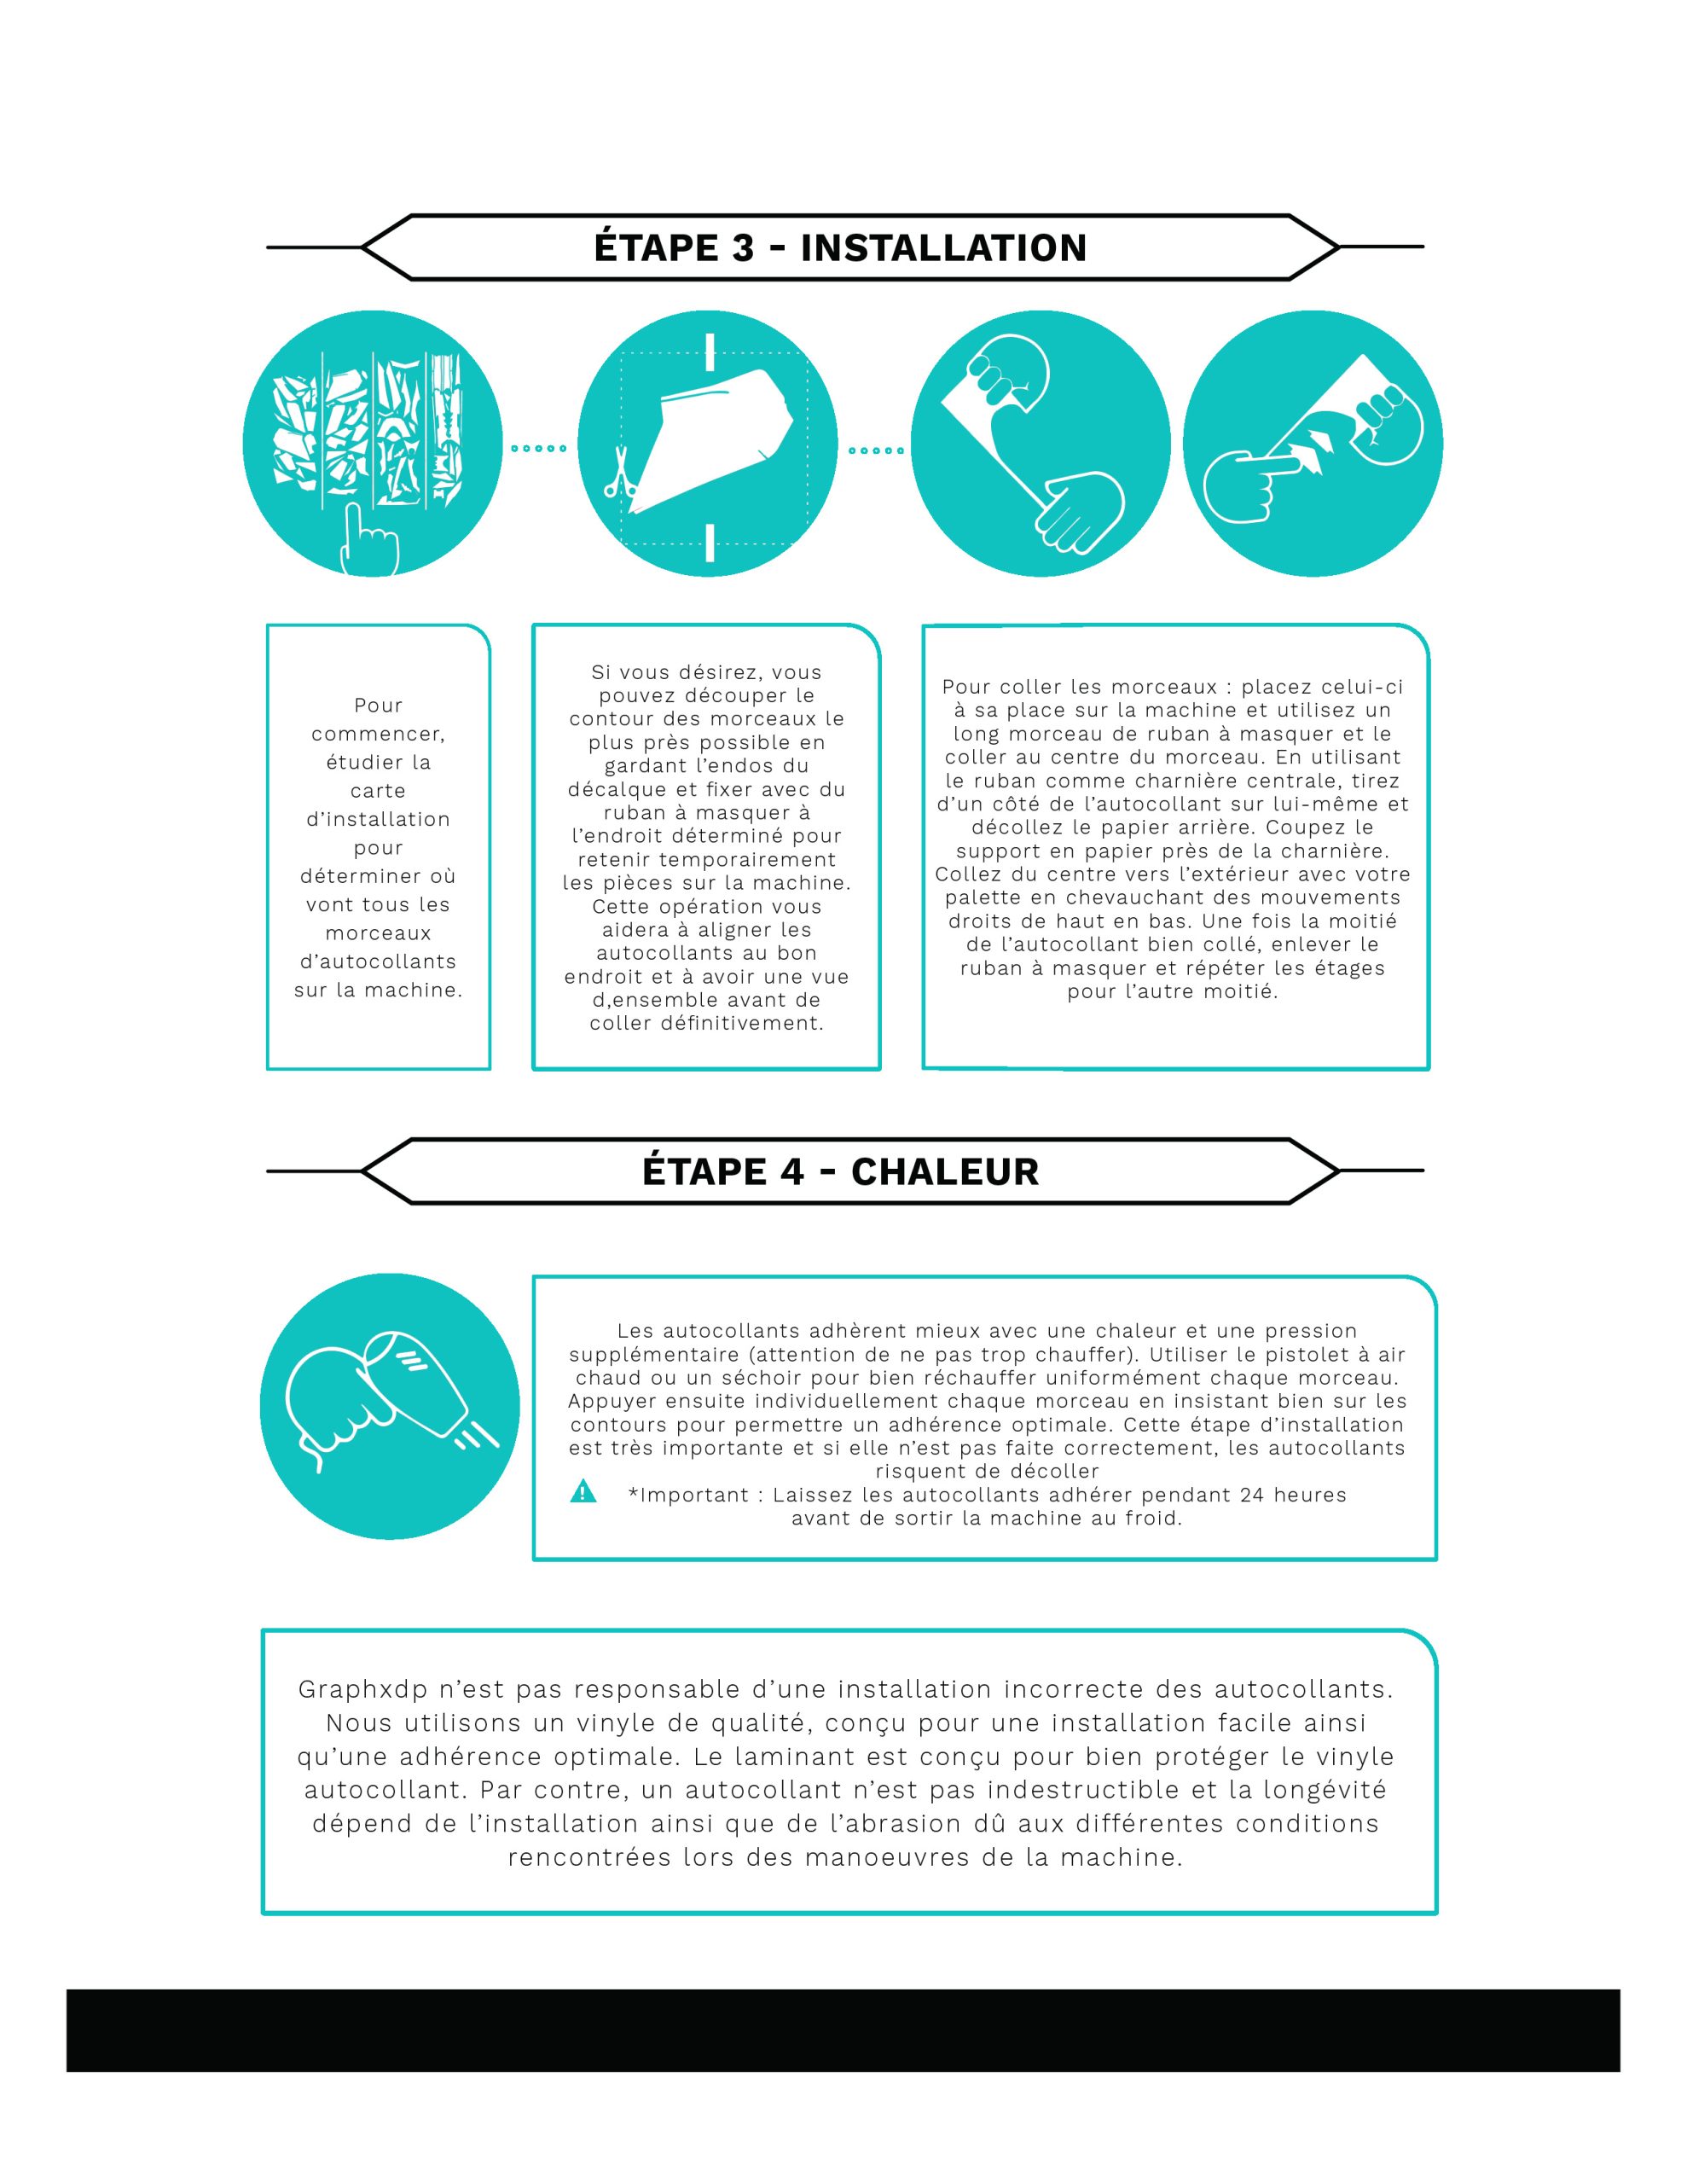
When you are ready to start your installation, we suggest cutting each piece from the print sheet beforehand. Cut around the sticker’s outline as closely as possible while keeping the backing of the decal. This will help you align the stickers in the designated areas. Use masking tape to temporarily hold the pieces on your machine.
To temporarily hold the pieces on your machine.
Procedure
Now, all your pieces are temporarily aligned or secured. Take a long piece of tape and place it in the center of each piece. Stick the pieces on the hood and sides of the machine. The tape will be used to stick the piece in two parts.
Next, remove the backing from the sticker on one side (50%) and cut that part. Apply one part of the sticker at a time, from the center outwards. This will help you eliminate air bubbles and ensure better adhesion.
Once half of the sticker is done, remove the other half of the backing and gently finish applying the piece. Always start from the center and work outward.
Recommendation
Another suggestion is to have a heat gun or dryer on hand. The material is easier to work with when it is slightly heated. Be careful not to overheat it.
Using water and soap is not recommended. You can purchase the product (RapidTac) to help with the installation.
Post-heat or final heating
It is very important to ensure that the water is dry and that all air is completely removed before exposing your machine to outdoor conditions.
Go over your installation and add additional pressure as needed while heating your stickers with your heat gun or dryer.
This step will prevent any premature peeling. Failure to apply heat after installation could be considered an installation defect.
To optimize the result, you should keep your motorized vehicle in a temperate place for approximately 12 hours.
When you receive your set by mail,
The first thing you should do when you receive your graphic set is to take it out of the packaging tube and lay the sheets flat for 12 to 24 hours.
During this period, you can place your machine in a warm or temperate place (approximately 21 degrees Celsius).
Prepare and clean your machine.
Remove any existing stickers using a heat gun or dryer.
Make sure there is no residue left after removing the decals. We recommend using 70/30 isopropyl alcohol to remove any substances such as dust, grease, adhesive, etc.
You can find this alcohol at many stores (e.g., pharmacies, large retailers, etc.).
Sticker installation
When you are ready to start your installation, we suggest cutting each piece from the print sheet beforehand. Cut around the sticker’s outline as closely as possible while keeping the backing of the decal. This will help you align the stickers in the designated areas. Use masking tape to temporarily hold the pieces on your machine.
To temporarily hold the pieces on your machine.
Procedure
Now, all your pieces are temporarily aligned or secured. Take a long piece of tape and place it in the center of each piece. Stick the pieces on the hood and sides of the machine. The tape will be used to stick the piece in two parts.
Next, remove the backing from the sticker on one side (50%) and cut that part. Apply one part of the sticker at a time, from the center outwards. This will help you eliminate air bubbles and ensure better adhesion.
Once half of the sticker is done, remove the other half of the backing and gently finish applying the piece. Always start from the center and work outward.
Recommendation
Another suggestion is to have a heat gun or dryer on hand. The material is easier to work with when it is slightly heated. Be careful not to overheat it.
Using water and soap is not recommended. You can purchase the product (RapidTac) to help with the installation.
Post-heat or final heating
It is very important to ensure that the water is dry and that all air is completely removed before exposing your machine to outdoor conditions.
Go over your installation and add additional pressure as needed while heating your stickers with your heat gun or dryer.
This step will prevent any premature peeling. Failure to apply heat after installation could be considered an installation defect.
To optimize the result, you should keep your motorized vehicle in a temperate place for approximately 12 hours.